The Yaesu FT-101 is a classic piece of radio equipment, beloved by amateur radio enthusiasts for its reliability and performance. However, over time, even the best-maintained equipment can start to show signs of wear and tear. Or maybe you just want all the pieces to match. Repainting your Yaesu FT-101 and its accessories can give it a fresh, new look and extend its life. This guide will walk you through the process ensuring your radio looks as good as it performs.
Materials Needed
Before starting, gather the following materials and tools:
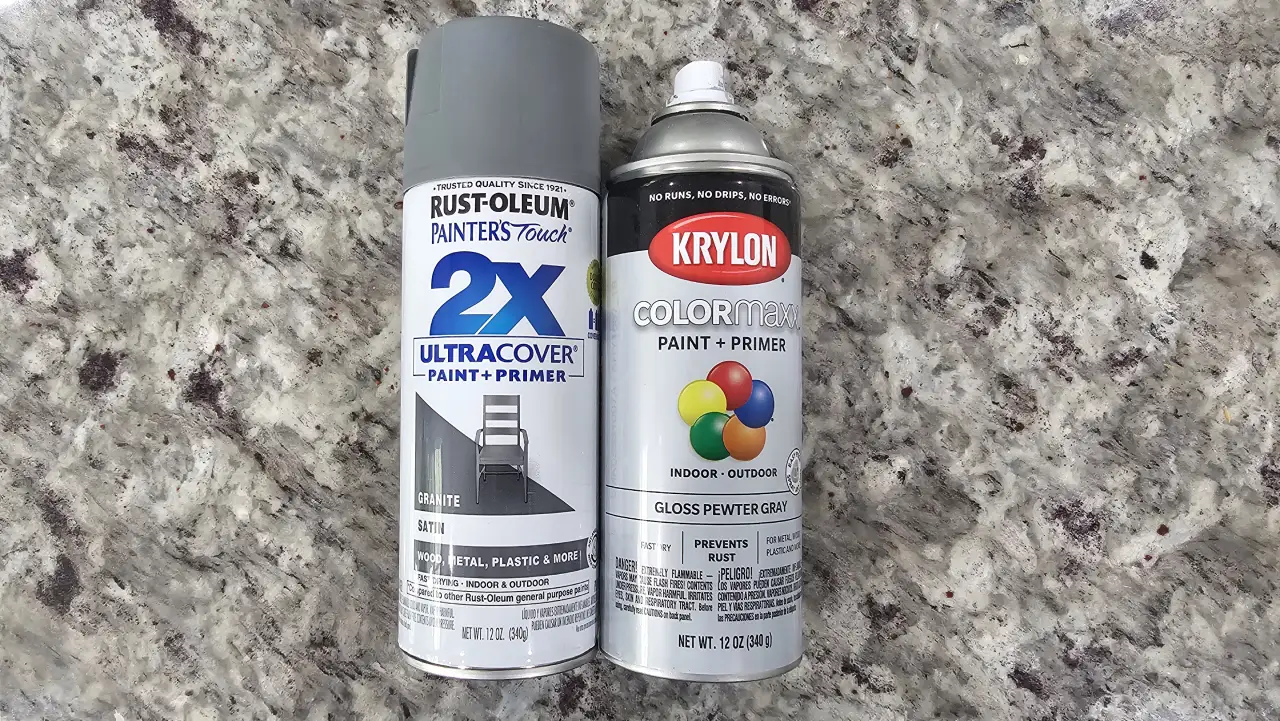
- Rust-Oleum 334069 Satin Granite paint
- Krylon K05531007 Pewter Gray paint
- Sandpaper (400 or 600 grit)
- Screwdrivers
- Cleaning supplies (soap, water, cloths)
- Safety gear (gloves, mask, eye protection)
The Process
Disassembling the Radio
The first step in repainting your Yaesu FT-101 is to disassemble it. This process requires careful attention to detail to avoid damaging any components. Ensure the radio is completely powered down and unplugged. Use the appropriate screwdrivers to carefully remove the panels from the radio. Remove the top panel and set it aside. Then, remove the feet from the bottom pannel and remove the bottom panel. To remove the main body panel, slide it backward toward the rear of the radio. Keep the screws in a safe place.
To remove the trim ring, remove the 8 screws holding it in place. Then tilt the top of the trim away from the radio then downward being cautious not to force or bend it. By taking your time during this step, you’ll ensure all parts are removed without damage.
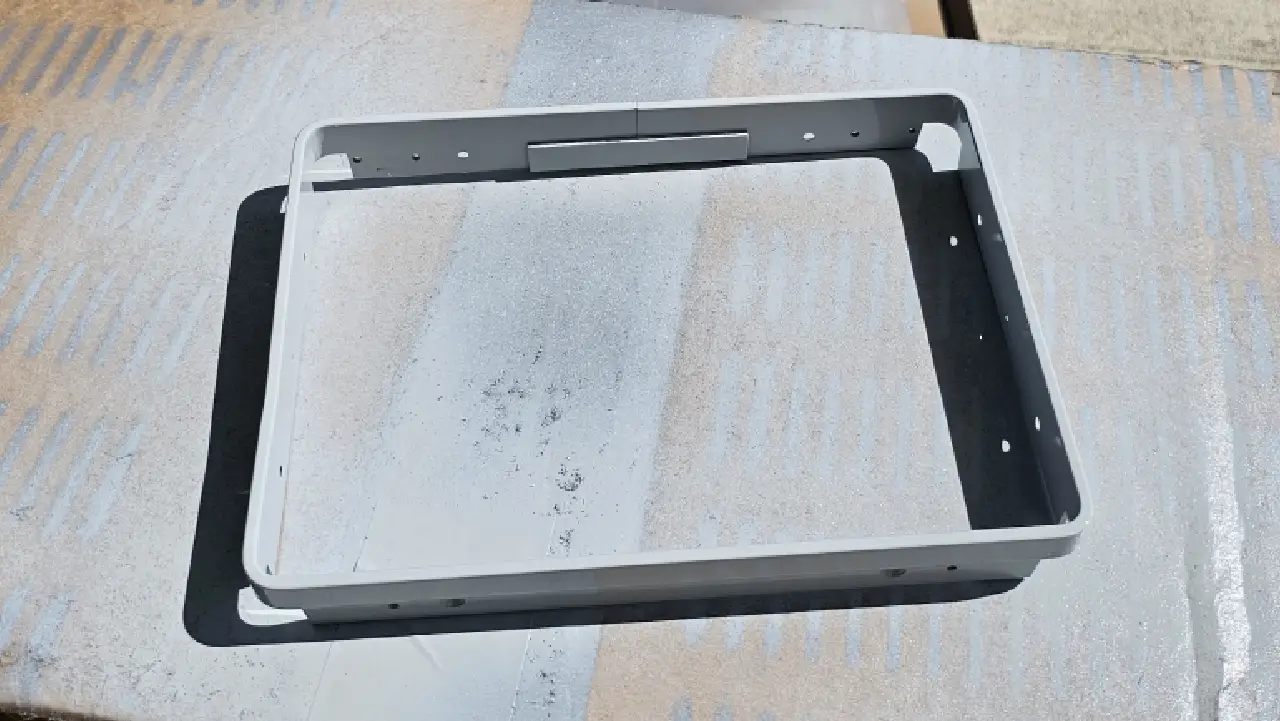
Sanding the Panels and Trim Ring
Sanding is a crucial step in preparing your radio for a new coat of paint. It helps remove old paint, rust, and ensures a smooth surface for the new paint to adhere to.
I prefer 600 grit but you may need to start with a coarse grit (around 120) and gradually move up to a finer grit if there are a lot of scratches or rust. Sand the panels and trim ring evenly, making sure to cover all areas. Run your hand over the surfaces to ensure they are smooth and free of imperfections. Taking the time to sand properly will result in a better final finish.
Sanding the Screws
While it might seem tedious, sanding the screws is important for paint adherence and a uniform look. Use a piece of cardboard or a similar material to hold the screws in place while sanding. Lightly sand each screw head, being careful not to strip the threads.
Washing Everything
After sanding, it's essential to clean all components to remove dust and debris. Use a mild soap and water solution to wash the panels, trim ring, and screws. Rinse thoroughly to Ensure all soap residue is removed. Let everything dry completely before moving on to painting. Any moisture can affect paint adhesion. Clean, dry surfaces are crucial for a successful repaint.
Painting the Panels and Screws
With everything prepped and clean, it’s time to start painting. For the panels and screws, we'll use Rust-Oleum 334069 Satin Granite.
Choose a well-ventilated area and lay down protective coverings. Shake the can of Satin Granite thoroughly. Spray the panels and screws evenly, holding the can about 10-12 inches away. Apply multiple light coats rather than one heavy coat to avoid drips and ensure even coverage. Allow the painted components to dry according to the manufacturer's instructions.
Painting the Trim
Next, we’ll paint the trim with Krylon K05531007 Pewter Gray to give it a distinctive look. Shake the Krylon K05531007 Pewter Gray can well and spray the trim ring evenly. Apply several light coats for the best result, allowing drying time between each coat. The trim ring will stand out beautifully with this complementary color.
Letting Everything Sit for 24 Hours
Once all painting is done, it's crucial to let everything sit and cure for 24 hours. Avoid handling and keep the painted components in a dust-free area where they won't be disturbed. Ensure the area is not too humid or cold, as this can affect the paint curing process. Patience at this stage will pay off with a more durable finish.
Reassembling the Radio
After the paint has fully cured, it’s time to reassemble your Yaesu FT-101. Carefully reattach the panels and trim ring to the radio. Use the previously removed screws to secure all components in place. Ensure everything is properly aligned and tightened. With careful reassembly, your Yaesu FT-101 will look like new.

Frequently Asked Questions
What paint should I use to repaint a Yaesu FT-101?
Rust-Oleum 334069 Satin Granite works well for the panels and screws and gives a finish that closely matches the original FT-101 case color. Krylon K05531007 Pewter Gray is a good complementary color for the trim ring. Both are widely available rattle-can finishes that hold up nicely on a properly prepped chassis.
What grit sandpaper is best for prepping the panels?
For panels and the trim ring, 400 to 600 grit gives a smooth surface for the new paint to bond to. If the original paint has heavy scratches or rust, start with around 120 grit and work your way up to 600 before painting. Always sand evenly and run your hand over the surface to check for high spots before you commit to color.
Do I really need to sand the screws too?
Yes, if you want a uniform look. Lightly sanding each screw head improves paint adhesion and prevents the screws from looking like an afterthought when the radio goes back together. Hold the screws against a piece of cardboard so you do not strip the threads while you sand.
How long should I let the paint cure before reassembly?
Give the paint a full 24 hours in a dust-free area before reassembly. Avoid touching the painted surfaces, keep the area at moderate room temperature, and avoid high humidity. Rushing the cure is the fastest way to mar the finish during reassembly.
Will repainting the FT-101 affect its operation?
No, as long as you only paint the case panels, trim ring, and screw heads. Avoid painting any electrical contacts, the chassis ground points, or anywhere paint could interfere with mating surfaces. The radio is otherwise unaffected by a cosmetic repaint.
Can I use this same approach on other vintage Yaesu or ham radio gear?
Yes. The disassemble, sand, wash, paint, cure, reassemble workflow applies to most vintage ham radio cases. The paint colors are specific to the FT-101 family. For other rigs, find a paint chip that matches the original color and substitute, but keep the prep and cure steps the same.
Conclusion
Repainting your Yaesu FT-101 and accessories can breathe new life into your cherished equipment. By following these detailed steps, you can achieve a professional-looking finish that not only enhances the appearance but also protects your radio for years to come.